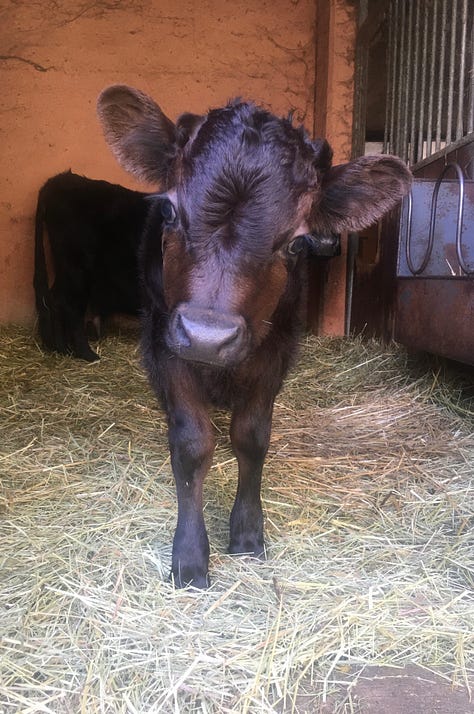
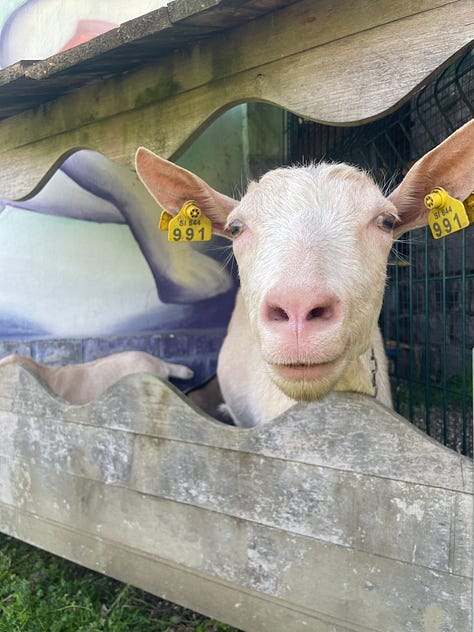
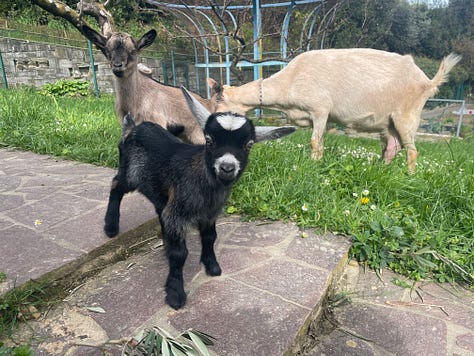
I always find it funny when I’m talking to people, and from the basic getting-to-know-someone topics, the subject of animals comes up, followed shortly by me speaking about our goats. Most usually find it surprising, because my family lives in the city, closely surrounded by neighboring houses. Still, right there nestled out of sight, lies a little barn and outdoor area for our small herd of animals. Mostly goats and chicken, but we even had a cow at a certain point. With these animals, I got inspired to learn about cheesemaking.

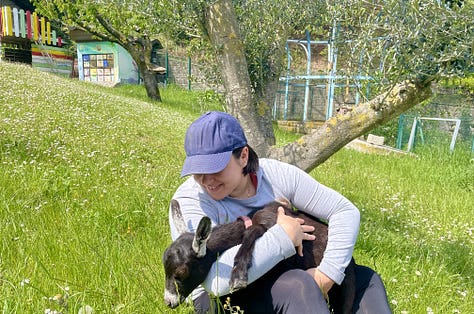
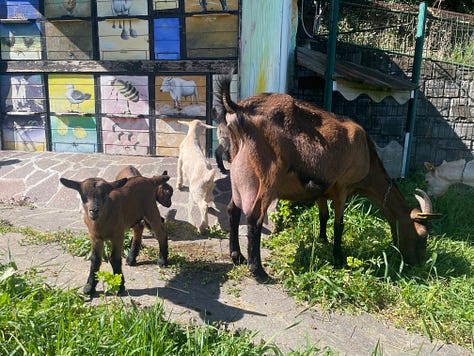
I think it’s interesting how some childhood experiences affect us more than others. I grew up with the mentality that animals are a part of the every day, needing care and attention. I always found this work very rewarding. Above all, I like how animals seem to have a positive and calming effect, as they themselves require a tranquil atmosphere. I find their characters (which they show so well) incredibly entertaining.
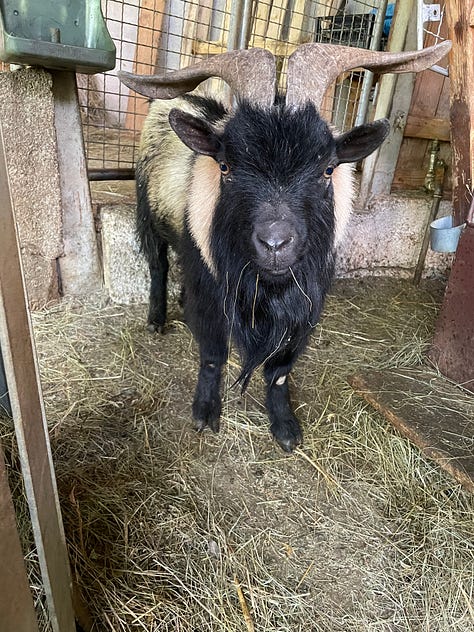
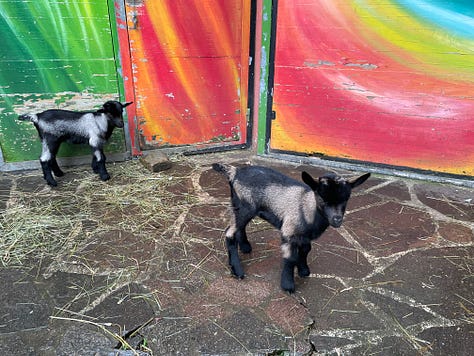
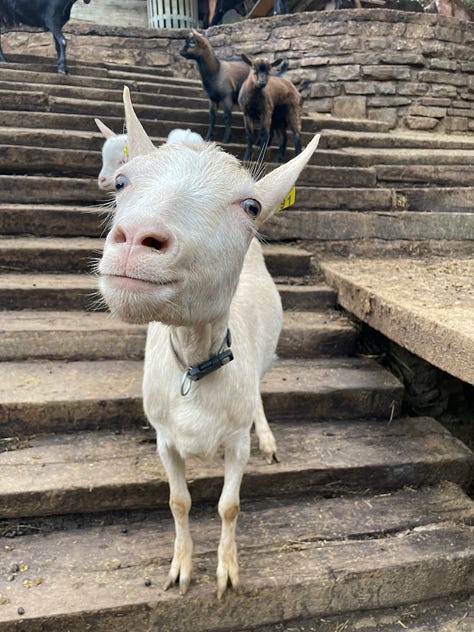
From a young age, I was included in all farm activities, there were no illusions about how goat kids are born, or how most of them would simply end on our plates in a couple of months. It seems that somewhere along the way, it has become perceived as cruel to say that naturally, most of these incredibly cute goat kids, jumping around happily, will live but for some months. Farmers know that the real cruelty would be to keep all of them, and shortly running out of space, time and manpower to give these animals the life they deserve.
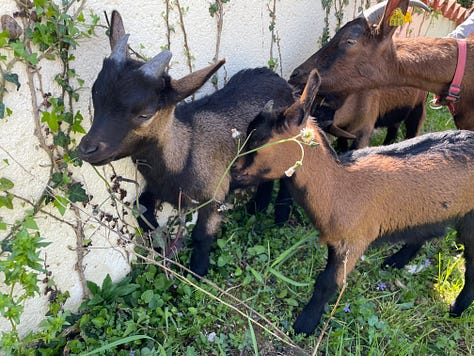

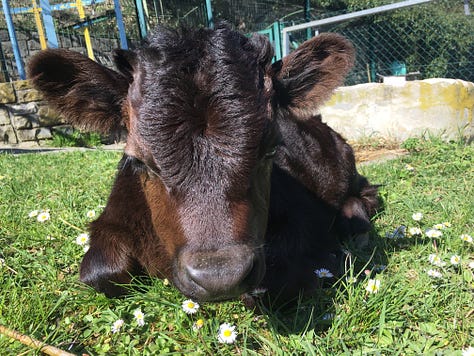
“What will you do with all these goat kids?” is probably one of the questions I’ve answered the most when talking about goats. Someone who keeps animals out of passion and with respect has the greatest love for them. That is someone who dedicates the time and care whilst watching the animals grow and develop their characters, trying to get the best feed, cleaning and fixing stuff all the time, helping with births... Ultimately, it’s the same person that decides which animals to keep. It shouldn’t be about how long an animal gets to live but about the quality of life.
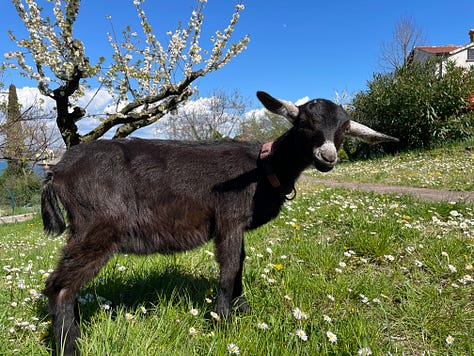
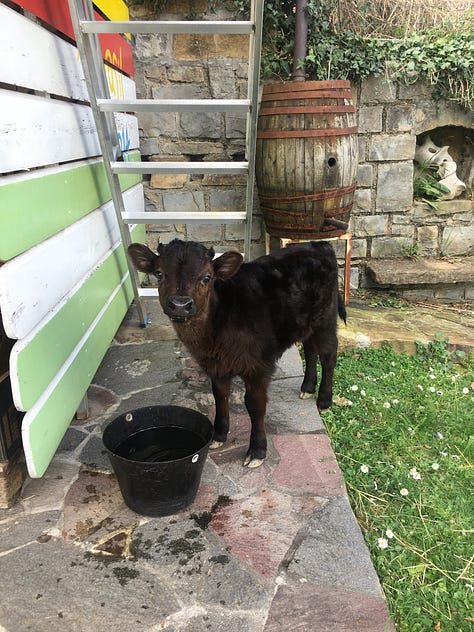
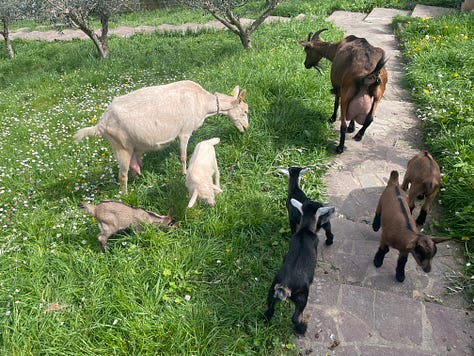
Even though I’m used to this reality, I admit it is not easy having to make these decisions. I believe it comes down to respect. Not only to ensure the death is as quick, painless and stress-free as possible, but also whilst eating the meat. I never had a problem with that, I think there is a clear point when the animal simply becomes meat. There should be much joy in getting to eat an animal that has lived a healthy and happy life. It goes without saying that all cuts of meat should be valued and used. That is why (for other than our goat meat), my family turns to small farmers and breeders when buying meat. It can be a luxury to be able to meet the producers, but I believe it’s worth taking the time to do so whenever possible. Visiting a farm and getting to see the animals can give an abundance of information. How did the animals behave when they saw you? Did they run away or come closer? Do they look healthy? How is their fur? Is the stable clean? Does it look like there is enough space for the animals? Is there enough light in the barn? Do they have fresh water? Do they have access to an outdoor space, or pasture? All these answers can give a sense of the quality of life.
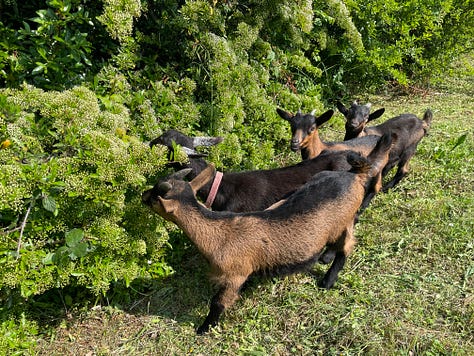
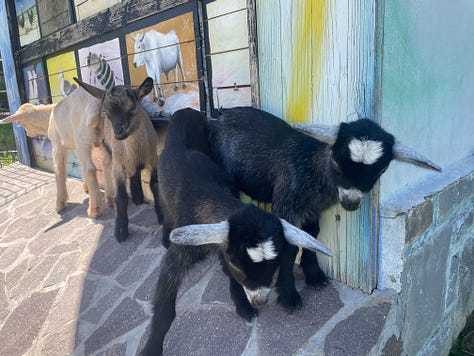
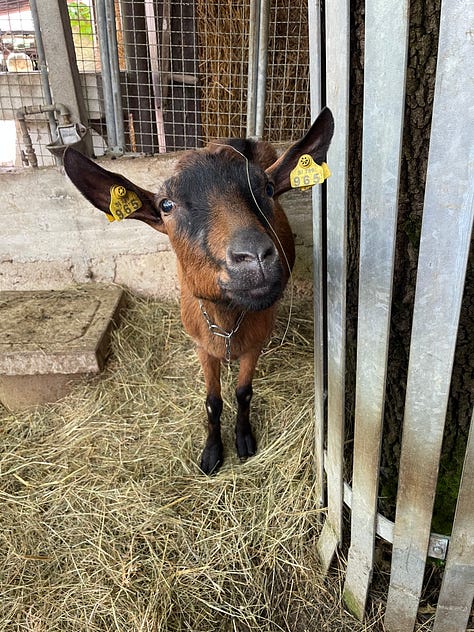
At this time of the year, goat farmers have decided which goat kids to keep, they have sold some animals to other breeders, but mostly they have sold goat kid meat for Easter. The cheesemakers are operating at full speed in the dairy, there is a lot of milk to process now. Our city goat kids are also getting bigger and starting to be interested in other than milk. Ending this post on a lighter note, below is the recipe for the easiest homemade yogurt.
Homemade Yogurt
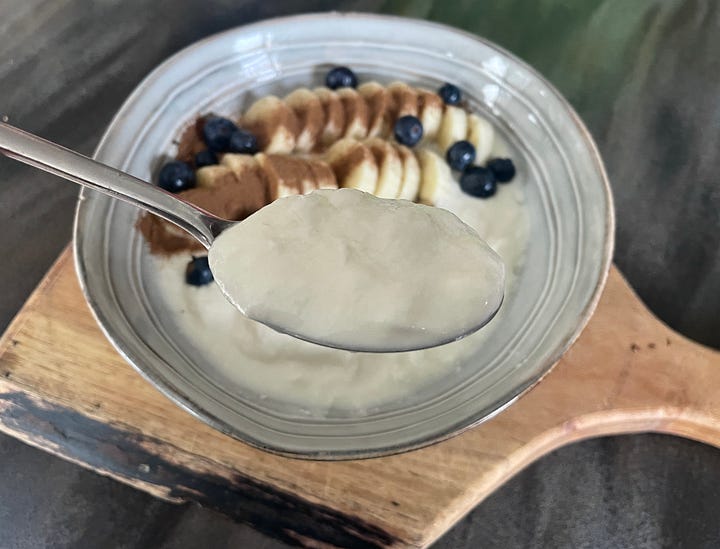
This recipe works with any type of milk, I obviously used goat’s. Yogurt from goat’s milk is known for having a more liquid consistency, compared to cow’s or sheep’s milk (the yogurt of the latter puts any panna cotta to shame). Goat’s milk yogurt is great to drink, sometimes I mix it with fresh or frozen fruit and some honey. However, my family also likes a thicker “greek-style” yogurt, and there are some easy tricks to achieve that!
If you don’t have a cheesemaker friend, who makes cheese using native cultures and would be prepared to part with a cup of yogurt starter, don’t worry, the recipe below uses store-bought yogurt.
The ingredients
milk
store-bought yogurt
The basic guidelines
Bring the milk almost to a boiling point. This way, you achieve two things. Firstly, a type of protein in the milk (whey protein) will coagulate and the yogurt will be thicker. Secondly, you ensure that you will in fact get the yogurt similar to the one you bought (the one you will use as a starter). By heating the milk to a high temperature, all the life that was present in the milk is taken away. You are basically left with a sterile liquid. The yogurt you buy in the store contains certain strains of bacteria. They are what makes a yogurt “healthy”, as these bacteria are considered probiotics. By using the store-bought yogurt as a starter, the bacteria in it will have no trouble dominating in the fermentation of the sterilized milk, ensuring the desired result.
Most cheeses are made by the same principle - heating the milk before adding the starters (cultures), to get a consistent end product. It’s easier and it’s a way to “deal” with some problematic practices and problems that are usually present before the milk arrived to the dairy. However, with this strategy, the typicality of the product, it’s connection to the people and the place, the particular taste and aromas, are lost.
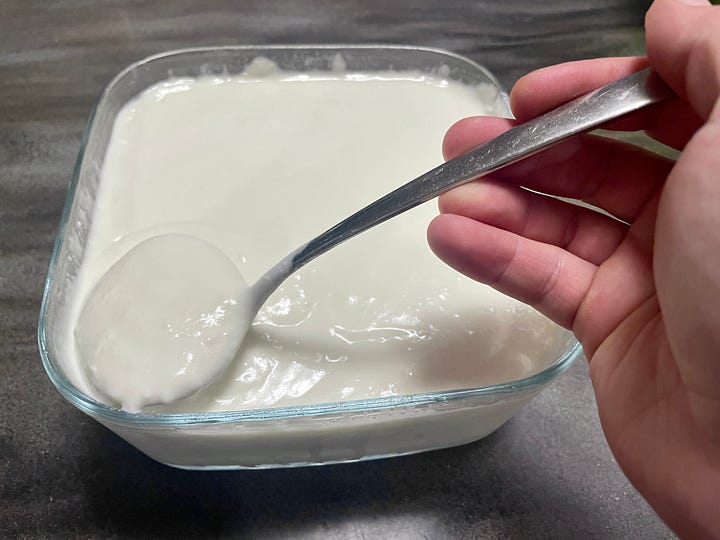
Back to the recipe, let the milk cool down (covered with a lid), to about 40 degrees Celsius. At this point, mix in the store-bought yogurt. You don’t need a large amount, as little as 100 g of yogurt for 2 liters of milk is enough. After making sure the yogurt is evenly mixed with the milk, put the lid on, place a wet towel on top of the pot and put it in the oven. Turn the oven to the lowest temperature (for most ovens that’s usually around 40 to 50 degrees Celsius). Leave the pot in the oven for about 6 to 8 hours. What I usually do is start the yogurt-making process in the evening and leave it in the oven overnight. That way, in the morning I have freshly made yogurt. To develop the final taste and thickness, place the yogurt in the fridge to cool completely.
Two ways to get a thicker yogurt
By following the recipe above, the yogurt should have a nice taste and a smooth, somewhat liquid consistency. Sometimes, like when using yogurt as a dipping sauce (which goes great with spicy and grilled foods), a thicker yogurt is preferred. The easiest way to achieve this is to take a large strainer, place a cloth over it, and pour in the yogurt. In a couple of hours, a clear liquid will separate and what will remain in the strainer is “greek-style” yogurt. There is no need to throw away the liquid part, it can be used for example in breadmaking, substituting the water.
Another way of getting a thicker yogurt and attain a very decadent consistency is to add cream in the process. When the milk has cooled down to around 40 degrees Celsius, mix in the cream (about 33 percent fat) along with the store-bought yogurt. I usually use about 0,25 liters of cream for 2 liters of milk. After that, continue following the recipe above. The result is a luscious taste and texture that feels almost too indulgent, almost.


Hmmm... ANOTHER amazing post, this time a bit more 'homey"!
It's good that you are realising and pursuing your dreams, but even better that you are generously sharing your experiences and, even better, your recipes with us:D
Keep up the good work, I am looking forward to your new post!